12:29 AM
Although it's already have discussed by other blog and website, we're interested to discuss how to setup Ubuntu One in Ubuntu 11.04 on this article, Please read our FAQ first if you're have trouble setting up Ubuntu One. - Open the Ubuntu One control panel (upper right corner).
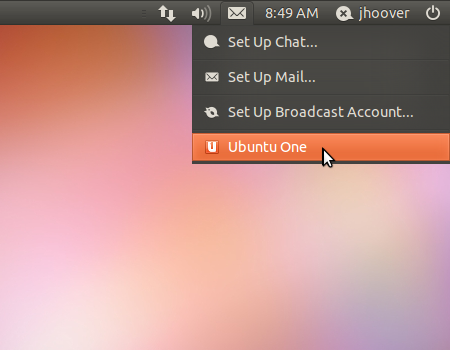 |
| Ubuntu One widget indicator |
- The Ubuntu One control panel will open. Click the Join now button.
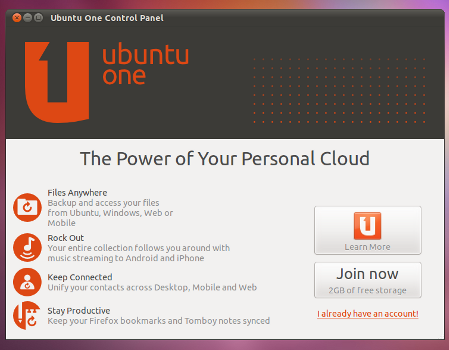 |
| Ubuntu One Welcome page |
- Fill in the Ubuntu One account creation form. Click the Forward button.
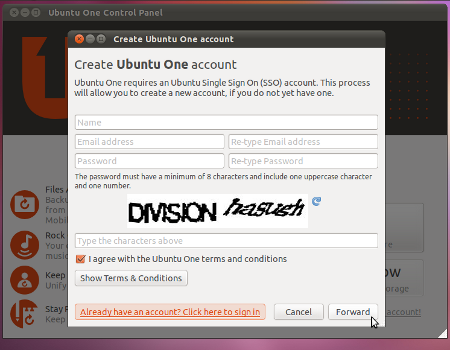 |
| Ubuntu One Register Account |
- Check your email for a verification code. Copy this code from the email and paste it (right-click in the field and select Paste or click in the field and press Ctrl-V) into the verification code field. Click the OK button.
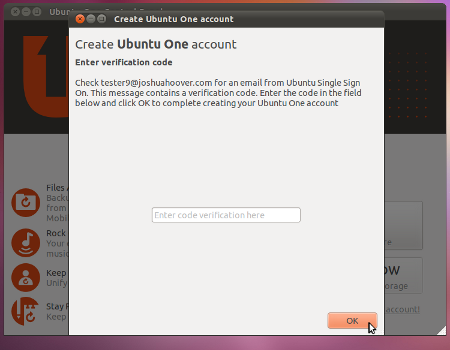 |
| Ubuntu One Input Email Verification Code |
- A success message should appear. Click the Close button to close the Ubuntu One success window.
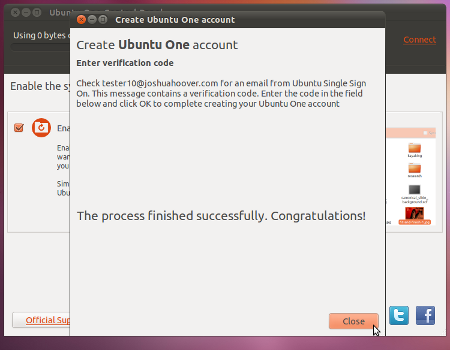 |
| Ubuntu One Success Creating New Account |
Here are step by step to Setting Ubuntu One in Ubuntu 11.04 (all picture on this article is belong to http://www.wiki.ubuntu.com).
1. Open the Ubuntu One control panel from the messaging menu it's located in upper right corner.
 |
| Ubuntu One widget Indicator |
2. Ubuntu One control panel will open, if you have already ubuntu account, click on the "I already have an account!" link at the bottom right.
 |
| Ubuntu One Welcome Page |
3. Enter your email address and password which you already register then click the Connect button.
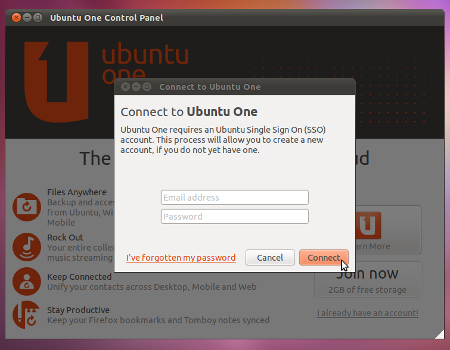 |
| Ubuntu One Input Account Information |
4. If correct, A success message will appear like picture below. Click the Close button to close the Ubuntu One success window.
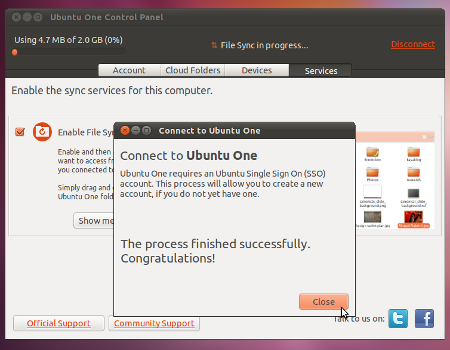 |
| Ubuntu One Dashboard |
5. In the Ubuntu One Control Panel, click on the Cloud Folders tab and select the folders you want to sync on this computer. In Ubuntu 11.04, Ubuntu One only syncs your Ubuntu One folder by default.
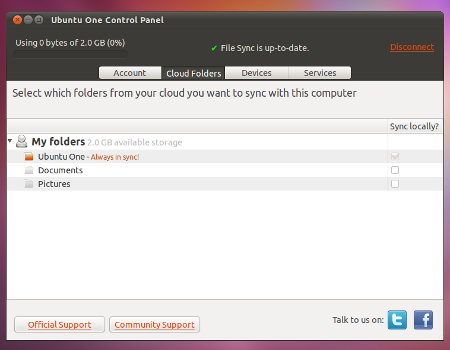 |
| Ubuntu One Ready to Syncronize | |
|
|
Congratulation, you're ready to use Ubuntu One now, you can also using Ubuntu One on other Operating system or such Mobil Device like android.
Related Posts : internet tool,
tips and trick


0 comments:
Post a Comment